How to record your Mac screen with system audio
The short answer: use Shift-Command-5 when screen plus microphone is enough. Use OBS Studio when you want a free production tool and do not mind configuring sources. Use a focused Mac recorder when you need system audio, voice and camera without building an OBS scene first.
1. Screenshot or QuickTime: built in, but microphone-first
Press Shift-Command-5, choose Record Entire Screen or Record Selected Portion, open Options, select a microphone if needed, then start recording. Apple documents the same controls through QuickTime Player's File > New Screen Recording command.
This is the smallest solution for a silent capture or spoken walkthrough. Apple's current screen-recording instructions list a microphone as the audio choice; they do not offer the Mac's playing system sound as a direct source. If the sound from an app or browser must be in the result, choose one of the next two routes.
2. OBS Studio: free, flexible and built around sources
OBS Studio is the strongest free answer when you want scenes, streaming, multiple sources and detailed output control. On macOS 13 and later, OBS 30 can capture all desktop audio or one application through its macOS Audio Capture source. Its macOS Screen Capture source can also carry audio.
Add a macOS Screen Capture source, add your camera and microphone sources, confirm the meters in the Audio Mixer, then run a short test before the real take. The official OBS system-audio guide documents the source choices. Pick OBS when its broader production controls are useful; for one quick recording, the setup is the tradeoff.
3. PX7 Video Recorder: screen, sound and camera in one focused window
Choose a display, one window or a region. Enable System Audio, microphone and camera as needed, then record. System sound and microphone stay as separate tracks in the QuickTime file, so levels remain editable after the take. Pause and resume without creating fragments, trim the ends, and keep the original local on your Mac.
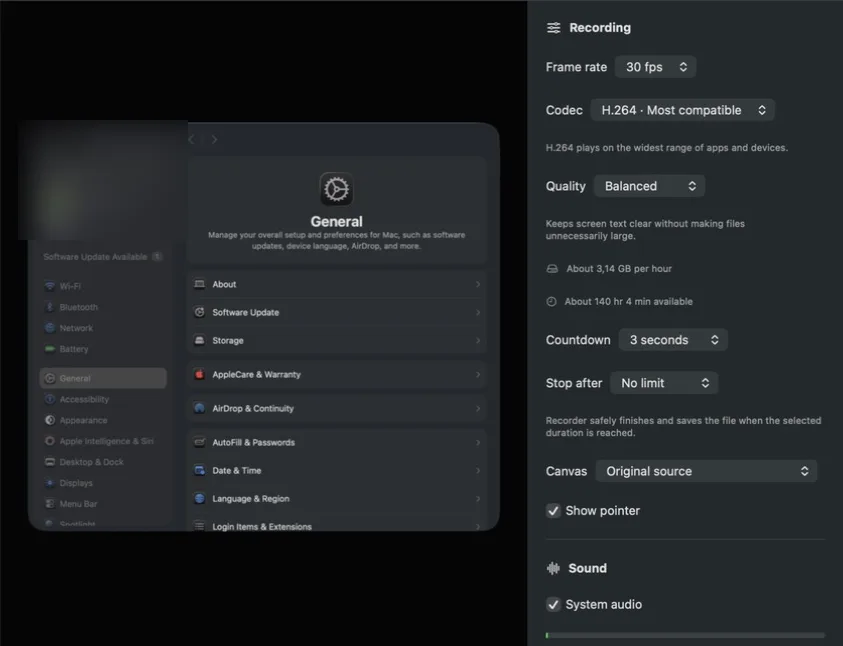
PX7 Video Recorder requires macOS 14 or later on Apple silicon or Intel. The seven-day trial needs no card; the full app is a one-time EUR 19 purchase with no account or subscription.
Homebrew installs the same signed and notarized trial:
brew install --cask px7digital/tap/px7-video-recorderAllow the permissions once
The first capture triggers macOS privacy controls. Allow Screen and System Audio Recording for the app you chose. Allow Microphone or Camera only if that source belongs in the take. If macOS asks you to quit and reopen the recorder, do that before testing again.
Which route should you choose?
Use Screenshot or QuickTime for a built-in screen capture with optional microphone narration. Use OBS Studio for free scenes, streaming and detailed routing. Use PX7 Video Recorder for a direct local workflow with system audio, separate microphone audio and an optional camera overlay.
Quick answers
Can the built-in Mac recorder capture system audio?
Not as a direct source in Apple's documented Screenshot or QuickTime controls. They offer microphone input. A system-audio-capable recorder or an additional audio-routing device is needed for the Mac's playing sound.
Can OBS record Mac system audio?
Yes. OBS 30 and later supports desktop or single-application audio on macOS 13 and later.
Can I keep system audio and my voice separate?
Yes. PX7 Video Recorder preserves system sound and microphone as separate tracks in the same QuickTime recording.
Do I need BlackHole to record Mac system audio?
No. OBS Studio 30 and PX7 Video Recorder capture system audio directly on supported macOS versions without BlackHole or another virtual audio driver. Apple's built-in Screenshot and QuickTime controls do not expose system audio as a direct source.
Will protected video always record?
No. Apple notes that some apps, including Apple TV, may prevent their windows from being recorded. Respect copyright and the terms of the service you are capturing.